How to scan 35mm slides and negatives at home
A box of slides is not a box of prints. Here is the honest workflow for digitising 35mm film yourself, from choosing equipment to the one cleaning mistake that ruins a roll.
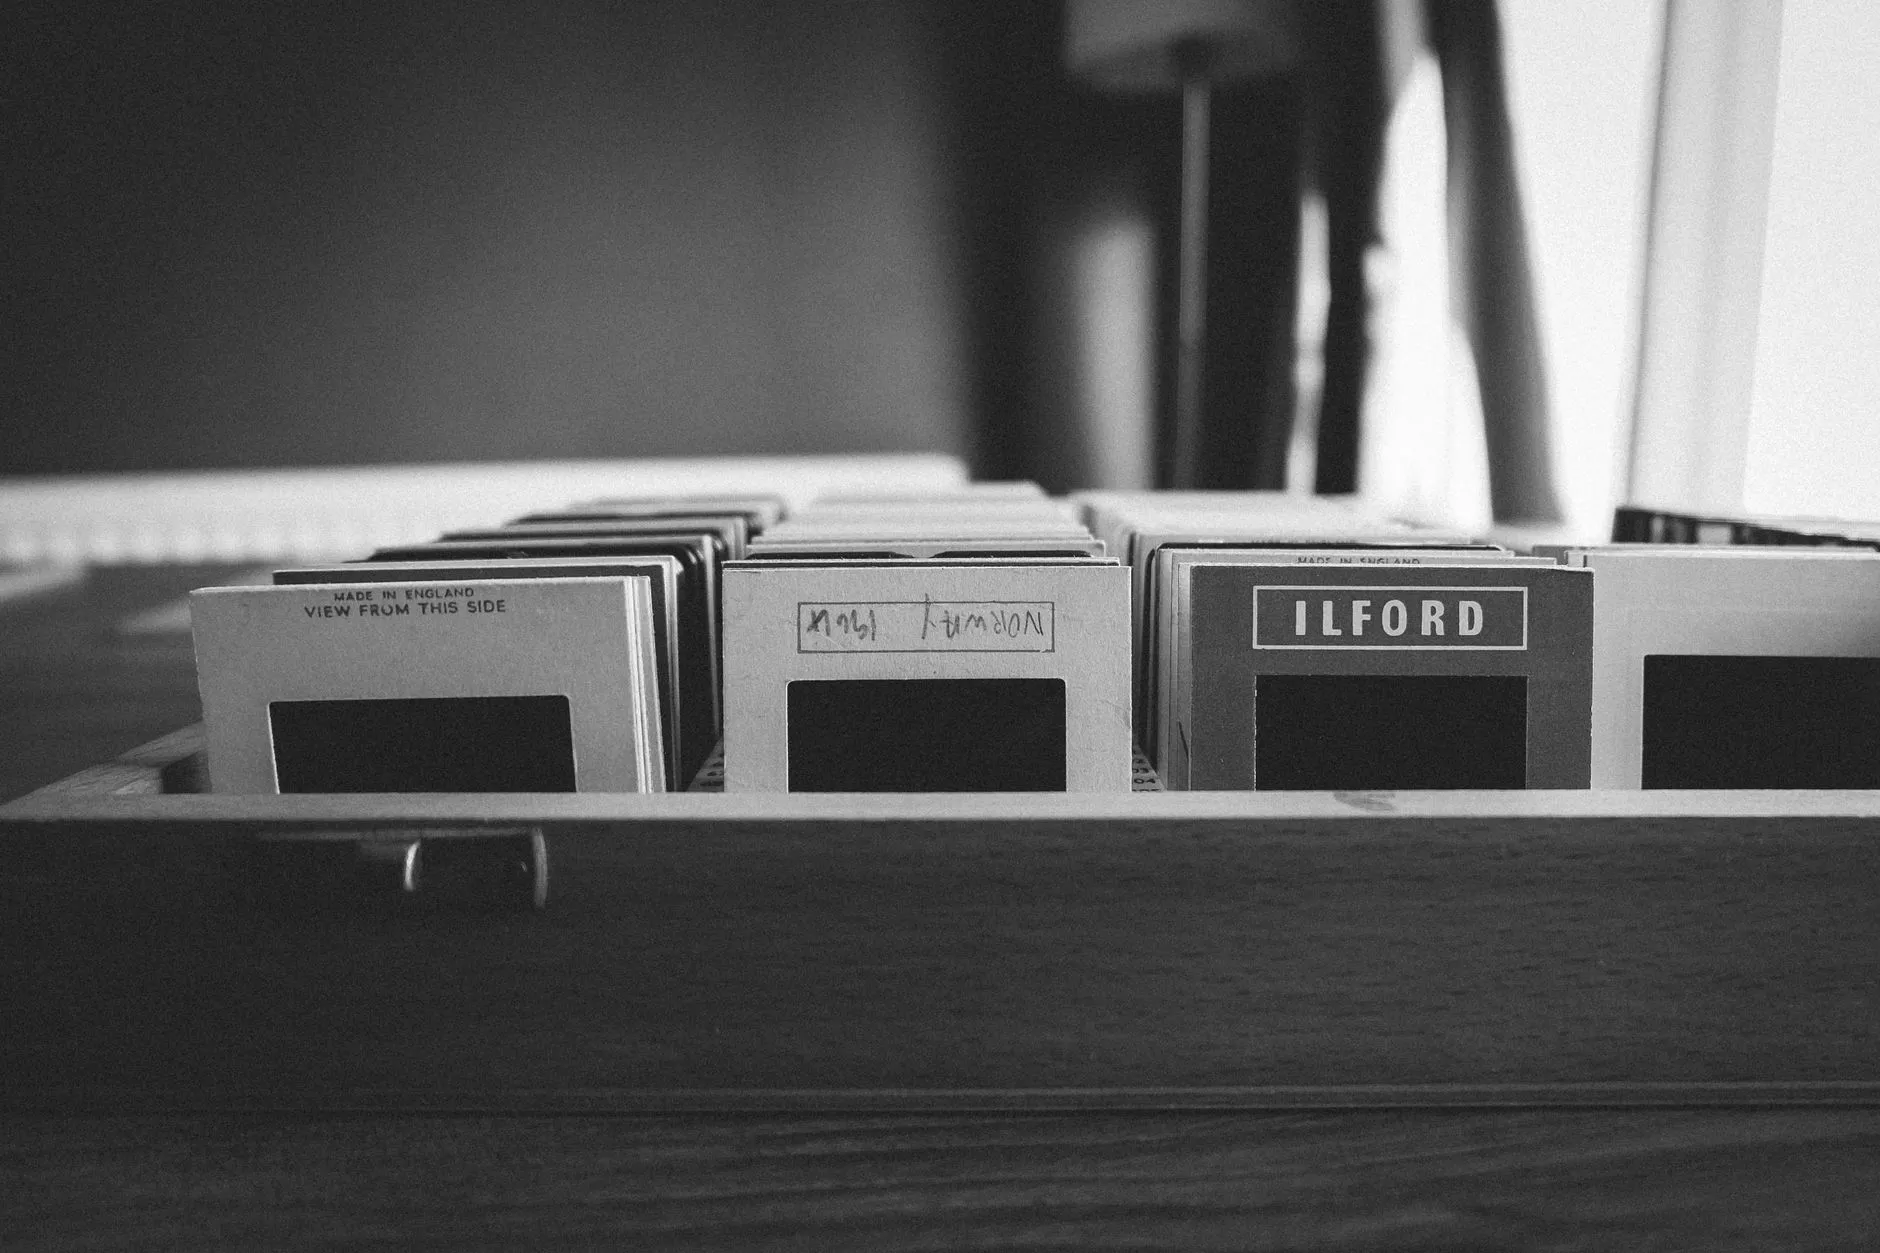
Slides and negatives sit in different boxes to prints, and most people leave them there longer, because scanning film feels like a different, more technical job. It partly is. The resolution numbers are unfamiliar, the equipment is less obvious, and negatives arrive the wrong colour before you have even started. None of it is actually hard once you know what you are looking at.
Why film scanning is not print scanning
A 35mm frame is 24 by 36 millimetres, smaller than a postage stamp, holding the same scene a 6 by 4 inch print does. Because DPI measures dots per inch of the original, the numbers that work for prints are useless here. Scan a slide at 300 DPI and you get a file barely larger than an email signature. Film needs resolutions in the thousands, not hundreds, precisely because the source is tiny. Our 35mm scan resolution calculator shows exactly what each setting produces in pixels and print size, so you are not guessing.
The other difference is that film is denser than paper. A slide or negative holds detail a consumer print never captured, so a careful scan can reveal more than the same image ever showed on the wall.
Deciding whether to do it yourself
A shoebox of forty holiday slides is a Saturday afternoon with a flatbed. A cabinet of six thousand slides accumulated over three decades of family life is a different project, and honestly weighing the trade-off before you start saves you from abandoning it in month two.
Do it yourself if you have fewer than a few hundred frames, you want to see and choose which ones matter as you go, or the collection has sentimental weight that makes handing it to a stranger feel wrong.
Use a scanning service if you have thousands of frames, your time is worth more than the service fee, or the film is in poor condition and you want it handled by people who do this daily. Get a sample batch scanned first before committing a whole collection, so you can judge the quality against your own standards.
Either way, nothing about the digital file changes what condition the physical slide is in. If frames have gone patchy or spotted, see our guide on mould spots on old photos before you touch a box that has been sitting somewhere humid, since the same gelatin emulsion that coats a print also coats film, and it is just as edible to mould.
Equipment options, from cheapest to most capable
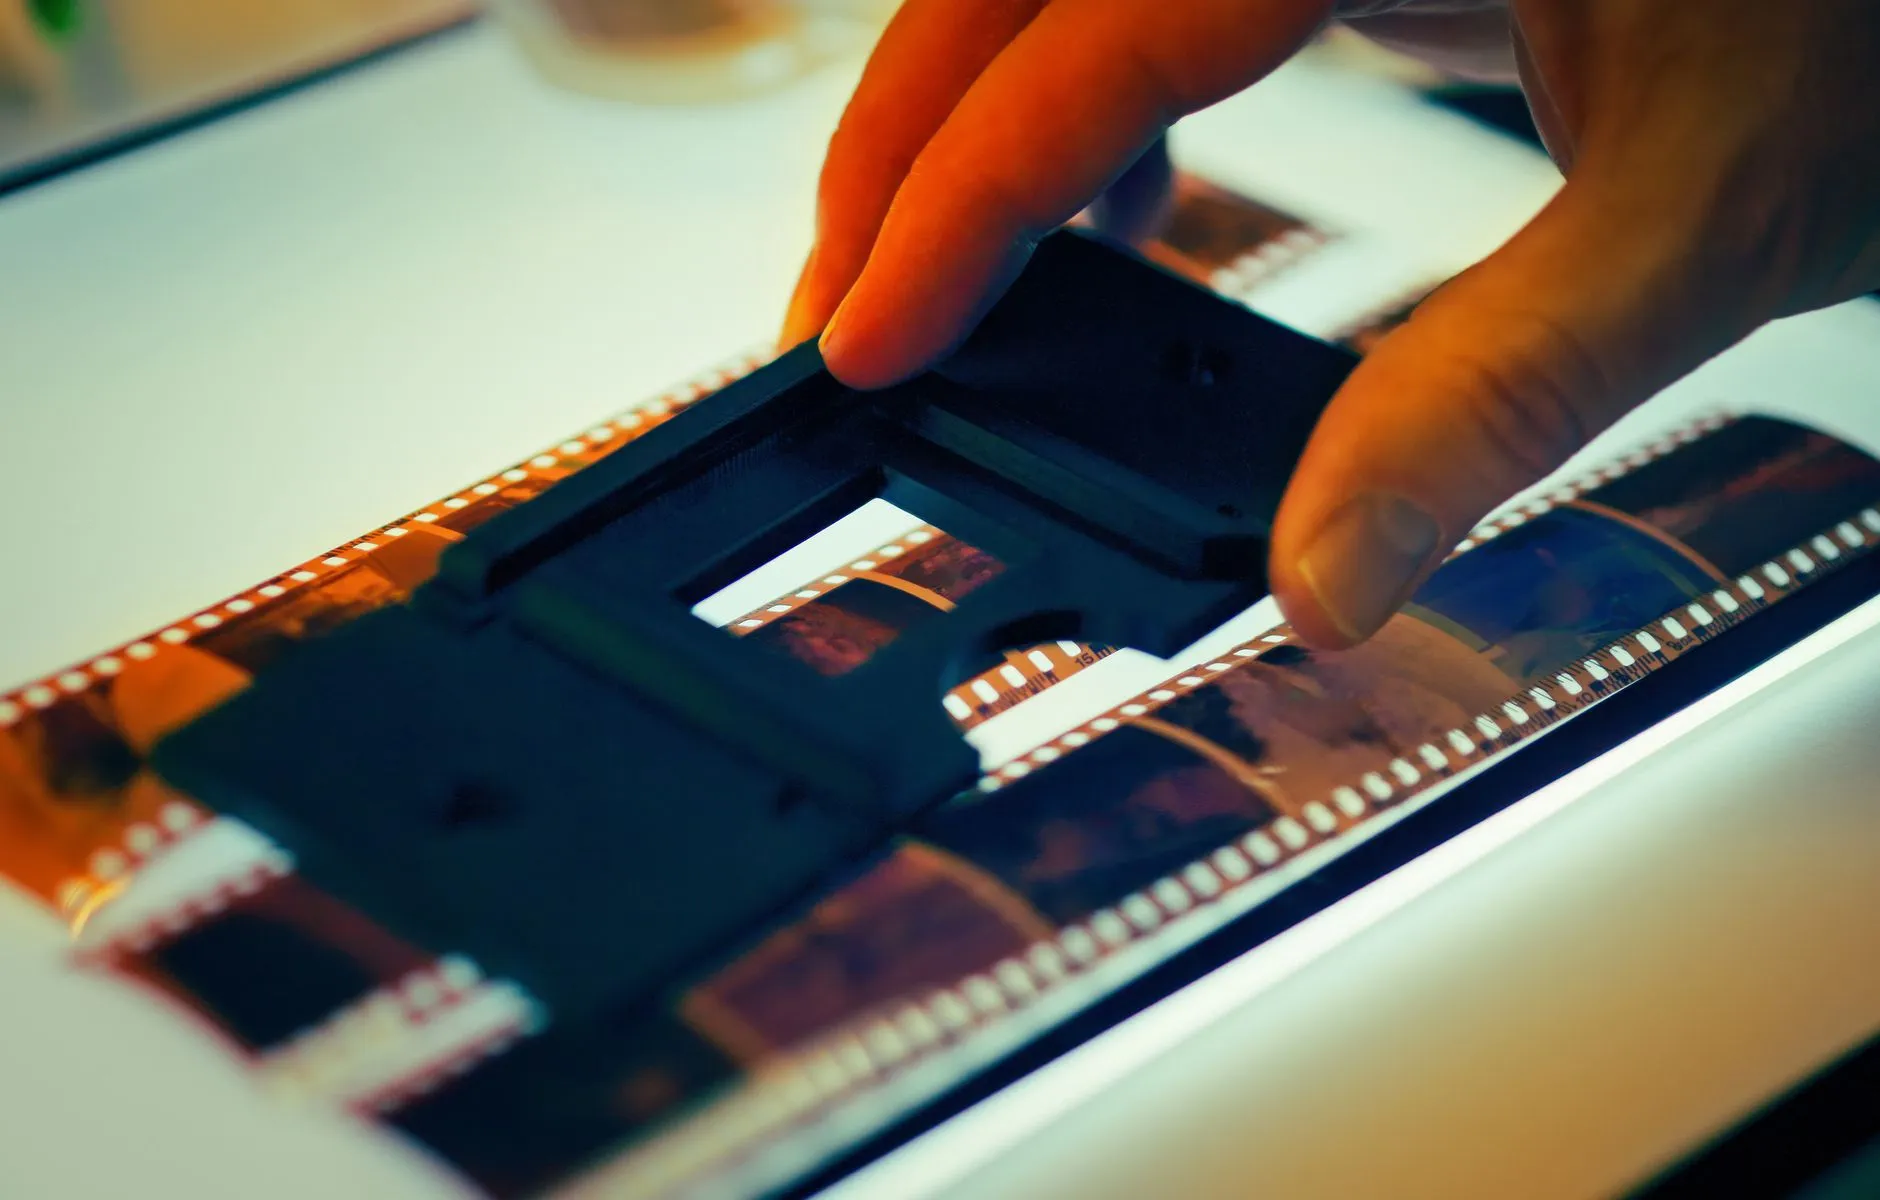
A flatbed scanner with a transparency unit. A second light source built into the lid, so light passes through the film rather than reflecting off it. Models with this feature, Epson’s Perfection line is the common example, manage a respectable result up to roughly 2400 effective DPI. This is the cheapest genuine option if you already own a flatbed or are buying one anyway for prints too.
A dedicated film scanner. Purpose-built for 35mm, these hold the frame precisely and push to 3000 or 4000 DPI, the range that captures what consumer film actually holds. They are faster per frame than a flatbed once you are set up, because the film holder and software are built around exactly one job.
A camera on a light table. A DSLR or mirrorless camera with a macro lens, or a phone with a clip-on macro adapter, photographing the frame lit from behind on a light table or lightbox. This produces excellent results when done carefully and is the fastest method for a large volume, but demands a level, even light source, careful focus on every frame, and software afterwards to invert negatives and correct colour. Treat it as a workflow for someone comfortable with a camera, not a first attempt.
Avoid photographing film held up to a window or a lamp. The light is uneven, the colour temperature drifts, and you introduce a reflection or a wobble you will not notice until you are looking at the file on a large screen.
Preparing the film before it ever touches a scanner
Handle by the edges. Fingerprints on film are permanent oil marks that no restoration tool fully removes, because they sit on the same surface as the image, not on top of it.
Clean with air or a soft brush, never a cloth. A rubber blower or a soft photographic brush lifts dust without touching the emulsion. A cloth, even a clean one, drags grit across the surface and adds fine scratches you did not have before.
Check for mould before you clean anything. Ordinary dust looks like an even, dry film. Mould looks fuzzy or powdery and sits in patches. If you see the second kind, stop, isolate that slide from the rest of the box, and let it dry fully somewhere ventilated before any brushing at all. Wiping active mould spreads spores to every frame it touches next.
Do a test frame first. Scan one slide, check focus, exposure and colour on a full-size screen, and adjust before running the other four hundred through the same settings.
Settings that actually matter
Resolution: 3000 DPI is the practical sweet spot for well-exposed 35mm, giving roughly 12 megapixels and a sharp print at 8 by 12 inches. Push to 4000 DPI for your best frames or anything you plan to crop tightly. Past 4000, consumer film scanners are mostly enlarging grain rather than finding more picture, so a box advertising 7200 DPI is quoting its stepper motor, not real detail.
Format: save the master as TIFF, uncompressed, and treat it as untouchable. Make JPEG copies for sharing and editing. If you only ever save JPEG, every later edit compounds a small quality loss you cannot get back.
Negatives need inversion and colour correction, which is why dedicated film scanning software exists rather than relying on generic scanner drivers. Colour negative film also carries an orange base built into the stock itself, not a fault, and software needs to know the film type to correct it properly rather than guessing.
Turn off automatic dust and scratch removal if your scanner offers it. These filters work by softening detail wherever they detect an anomaly, and on film grain that can mean softening the whole image. Capture the frame as it is and clean up afterwards, where you can see exactly what changed.
Naming and organising as you scan
Slide boxes rarely have any order left in them by the time they reach you, carousels get mixed, and a roll shot across a summer can land in three different boxes. Decide a naming convention before you start, something like the approximate year and a short description, and apply it as you go rather than promising yourself you will sort it later. You will not sort it later. Nobody does.
What a good scan cannot fix
Scanning captures the film exactly as it is now, including whatever the decades have already done to the dyes. Kodachrome slides are famously stable and can look nearly new after fifty years, while many negatives and other slide stocks have shifted towards orange or lost contrast. Our guide on why old photos turn orange explains why that happens and what can genuinely be recovered afterwards, which is often a great deal, since a scan preserves all the surviving colour and tonal information even when it looks faded on first glance. The correction happens after scanning, not during it.
Once your slides are digitised, store the originals properly rather than putting the box back in the loft. Our guide on how to store old photographs covers the conditions that keep film stable for decades rather than years, in case you ever want to rescan at a higher resolution as equipment improves.
The scan is the archive now. Treat the physical slides as a backup you are keeping in good condition, not as the thing you will rely on to remember what your grandmother’s kitchen looked like.
Common questions
- Can I scan 35mm slides with a normal flatbed scanner?
- Only if it has a transparency unit, a second light source built into the lid. A regular flatbed scans by reflecting light off the surface, which does nothing for a translucent slide. Flatbeds with a transparency unit manage a respectable result up to around 2400 effective DPI, enough for most family archives.
- Is it worth paying a scanning service instead of doing it myself?
- For a handful of boxes, doing it yourself is cheaper and you control the quality. For thousands of slides, a bulk service often works out faster and no more expensive once you count your own hours, though you lose the chance to triage as you go and decide which frames actually matter.
- Why do my scanned negatives look like colour negatives, all orange and inverted?
- That is the film base, not a scanning error. Colour negative film has an orange mask built into it, and scanning software needs to know the stock to invert and correct it properly. Dedicated film scanning software handles this automatically. A flatbed scanning negatives as if they were slides will not.
- Should I clean slides and negatives before scanning them?
- Gently, yes, with a soft brush or a rubber blower, never a cloth or your fingers. Dust scans permanently into the file. But stop immediately if you see fuzzy spotting rather than plain dust. That is mould, and brushing it while active spreads spores to every other slide in the box.