What DPI should you scan old photos at?
The honest answer depends on the size of the print, not on a single magic number. Here is what to use for each case, and why scanning too low is the one mistake you cannot undo later.
Every guide gives you a different number, which is a good sign that no single number is right. The correct resolution depends on how big the print is, and on one question most advice skips: is this your only pass through the collection?
If you are scanning four hundred photographs from a box in the garage, you are not going to do it twice. That changes the answer.
The short version
| What you are scanning | Scan at |
|---|---|
| Standard 4x6 or 5x7 snapshots | 600 DPI |
| Small prints, wallet size, contact prints | 1200 DPI |
| Large prints, 8x10 and above | 600 DPI, 800 if the detail is fine |
| Anything you may enlarge or print bigger | 1200 DPI |
| A whole collection, one pass only | 600 DPI minimum |
Archivists generally settle on 600 DPI as the floor for anything worth keeping, and up to 1200 where the original is small. The reasoning is simple: you can always save a smaller copy later, but you cannot add quality that was never captured.
Why 300 DPI keeps getting recommended, and when it is wrong
300 DPI is the print industry’s standard for reproduction at the same size. If your 4x6 snapshot will only ever be viewed on a screen or reprinted as a 4x6, then 300 is genuinely enough and anyone telling you otherwise is selling something.
It becomes wrong the moment any of these apply:
- The print is small. A wallet photograph at 300 DPI yields an image barely a thousand pixels wide. There is nothing to work with.
- You want to enlarge. Scanning a 4x6 at 600 DPI gives you enough pixels for a decent A4 print. At 300 you do not.
- You want restoration work done. Repair tools, AI or otherwise, work with what you give them. Fine scratches and grain need resolution to be distinguished from detail.
- This is your archival master. In twenty years the tools will be far better than today’s. The scan is what they will have to work from.
What actually limits your scan
Beyond a certain point you are photographing paper texture rather than the image, because a photographic print holds only so much detail. For most consumer snapshots that ceiling sits somewhere between 600 and 1200 DPI. Scanning a 1970s colour snapshot at 4800 DPI produces an enormous file that shows you the grain of the paper in exquisite detail and tells you nothing more about your grandmother’s face.
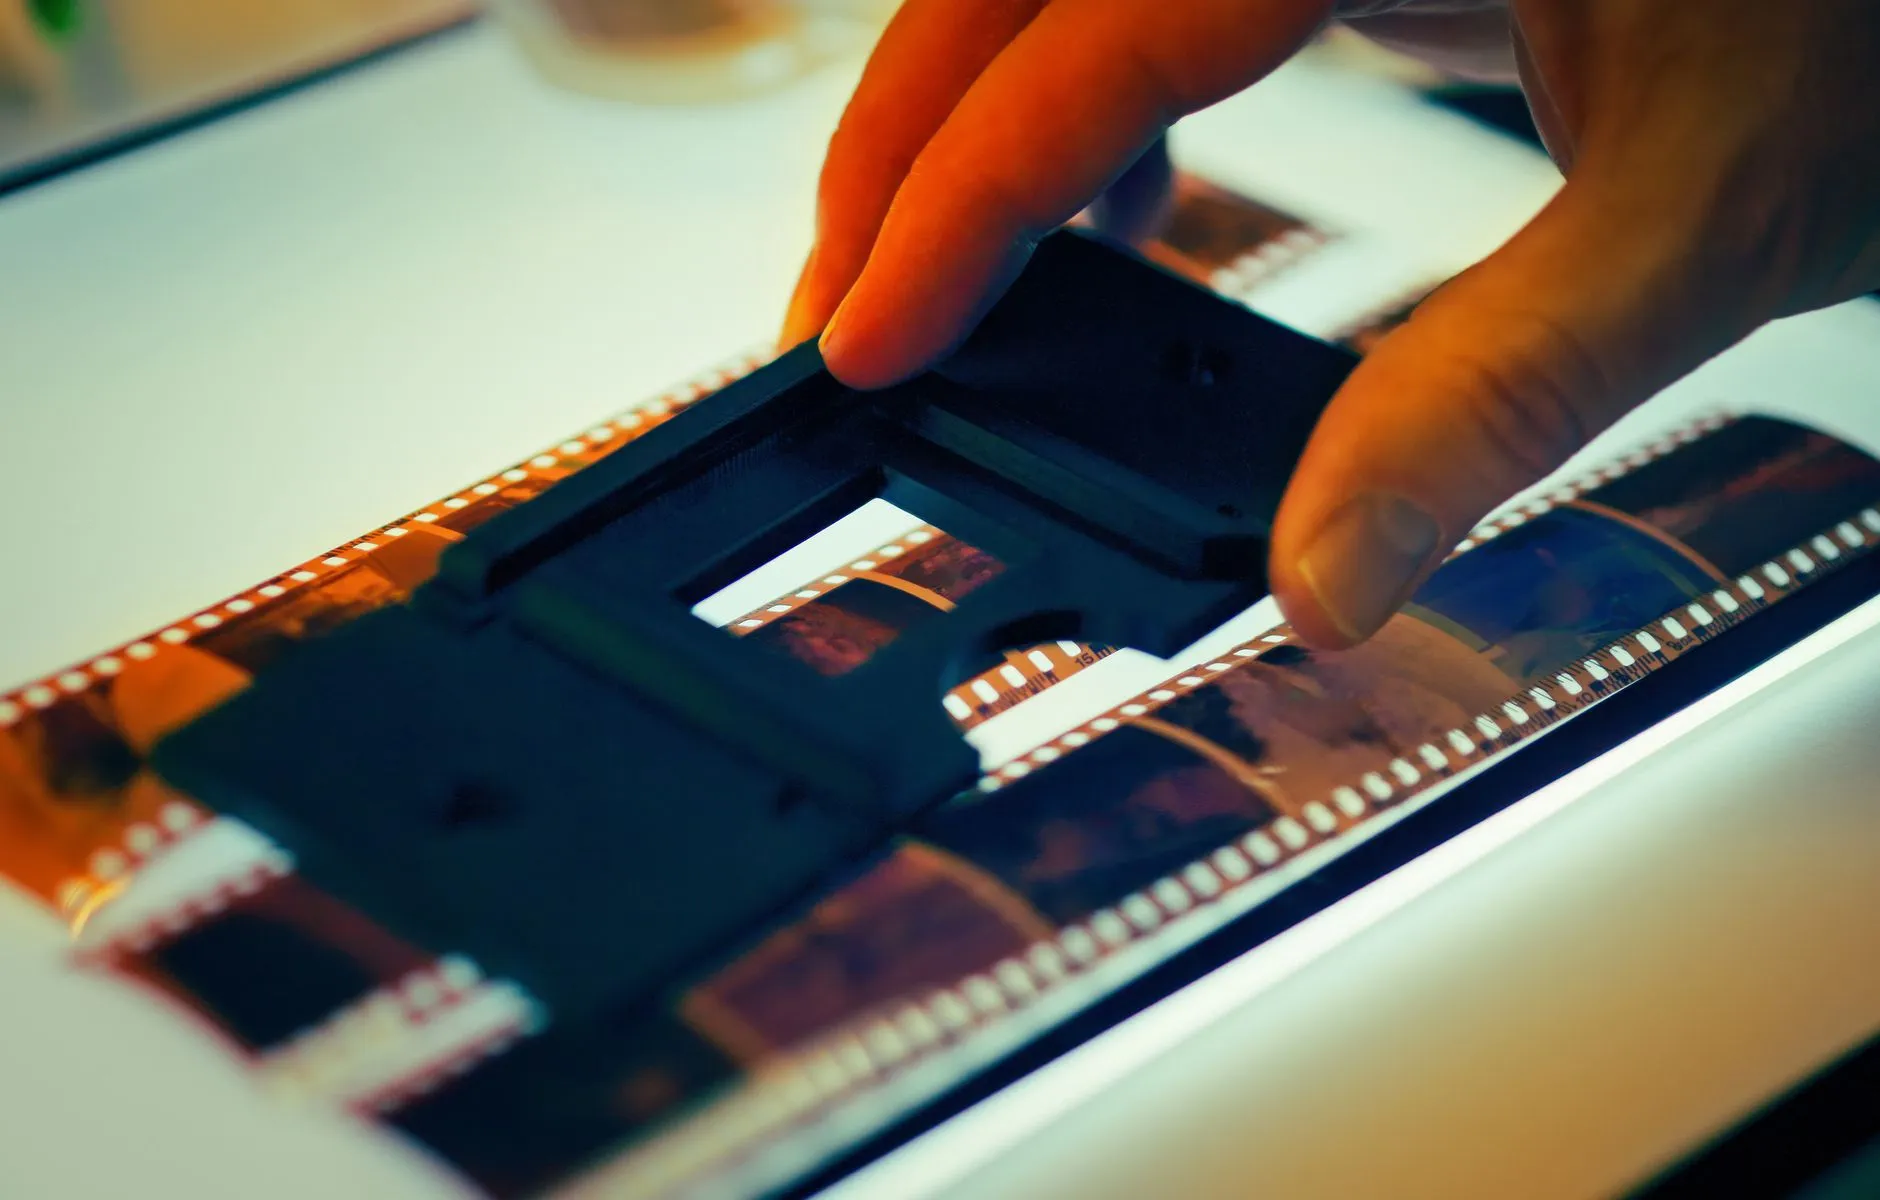
Negatives and slides are the exception. They are far smaller and far denser, so 2400 to 4000 DPI is normal and worthwhile for those.
The settings that matter more than DPI
Scan in colour, even for black and white prints. This surprises people. A monochrome print carries colour information in its paper tone, its yellowing and its stains, and capturing that gives you far more to work with when correcting. Convert to greyscale afterwards if you want to. The reverse is not possible.
Save the master as TIFF, not JPEG. JPEG throws away data on every save. If you edit, save, reopen and edit again, you are compounding losses. Keep an untouched TIFF and work on copies. Storage costs a fraction of what it did when most scanning advice was written.
Turn off the scanner’s automatic corrections. Dust removal, colour restoration and sharpening all sound helpful and all make irreversible decisions on your behalf, usually badly on aged prints. Capture flat and correct later, where you can undo.
Clean the glass, and clean the print gently. A soft brush for the print, a microfibre cloth for the glass. Every speck you leave becomes a permanent feature of your archival master, and removing dust digitally is tedious work you can avoid in ten seconds.
Doing a whole collection without giving up
The real failure mode is not resolution, it is abandonment. Four hundred photographs at 1200 DPI with careful individual handling is a project that dies in week two.
A workable approach: 600 DPI, batch scanning several prints per pass on the flatbed, naming as you go. Then pick out the twenty photographs that genuinely matter, the ones with faces you love, and rescan those at 1200 with proper care. A collection scanned imperfectly is infinitely more use than a perfect collection nobody finished.
Whatever you choose, write it down. Six months into a large collection you will not remember what settings you used in January, and consistency matters more than perfection.
Where phone scanning fits
Phone apps have become genuinely decent, and for a quick share of a snapshot they are fine. For an archival pass they are not, because a phone introduces lens distortion, uneven lighting, reflections off the print surface, and no reliable resolution figure.
Use a phone when the print is too large or too brittle for a flatbed, or when you are triaging a collection to decide what deserves a proper scan. Use a flatbed for anything you are keeping.
Common questions
- Is 300 DPI enough for scanning old photos?
- For a standard 4x6 snapshot you only intend to view on screen or reprint at the same size, 300 DPI is adequate. It is not enough if the print is small, if you may want to enlarge it, or if this is your one archival pass through a collection. Scanning is the expensive part in time, and you cannot add detail back later without doing it all again.
- Should I scan at 1200 DPI to be safe?
- For small prints and anything wallet-sized, yes. For a whole album of standard snapshots it produces very large files for detail the print does not physically contain, and it slows the job enough that people abandon it. 600 DPI is the sensible default for most collections, with 1200 reserved for small or precious originals.
- JPEG or TIFF for scanned photographs?
- TIFF for the archival master, because JPEG discards information every time it saves and you are likely to edit these files repeatedly. Keep the TIFF untouched and work on JPEG or PNG copies. Storage is cheap now in a way it was not when most scanning advice was written.
- Should I scan black and white photos in colour mode?
- Yes. Colour scanning captures the paper's tone, its yellowing and its stains, which gives restoration tools considerably more information to work with. You can always convert to greyscale afterwards. You cannot recover tonal data you never captured.