How to save water damaged photographs
What to do in the first 48 hours after a flood or a leak, including the freezer trick conservators use to buy time, and the four kinds of photograph you must never freeze.
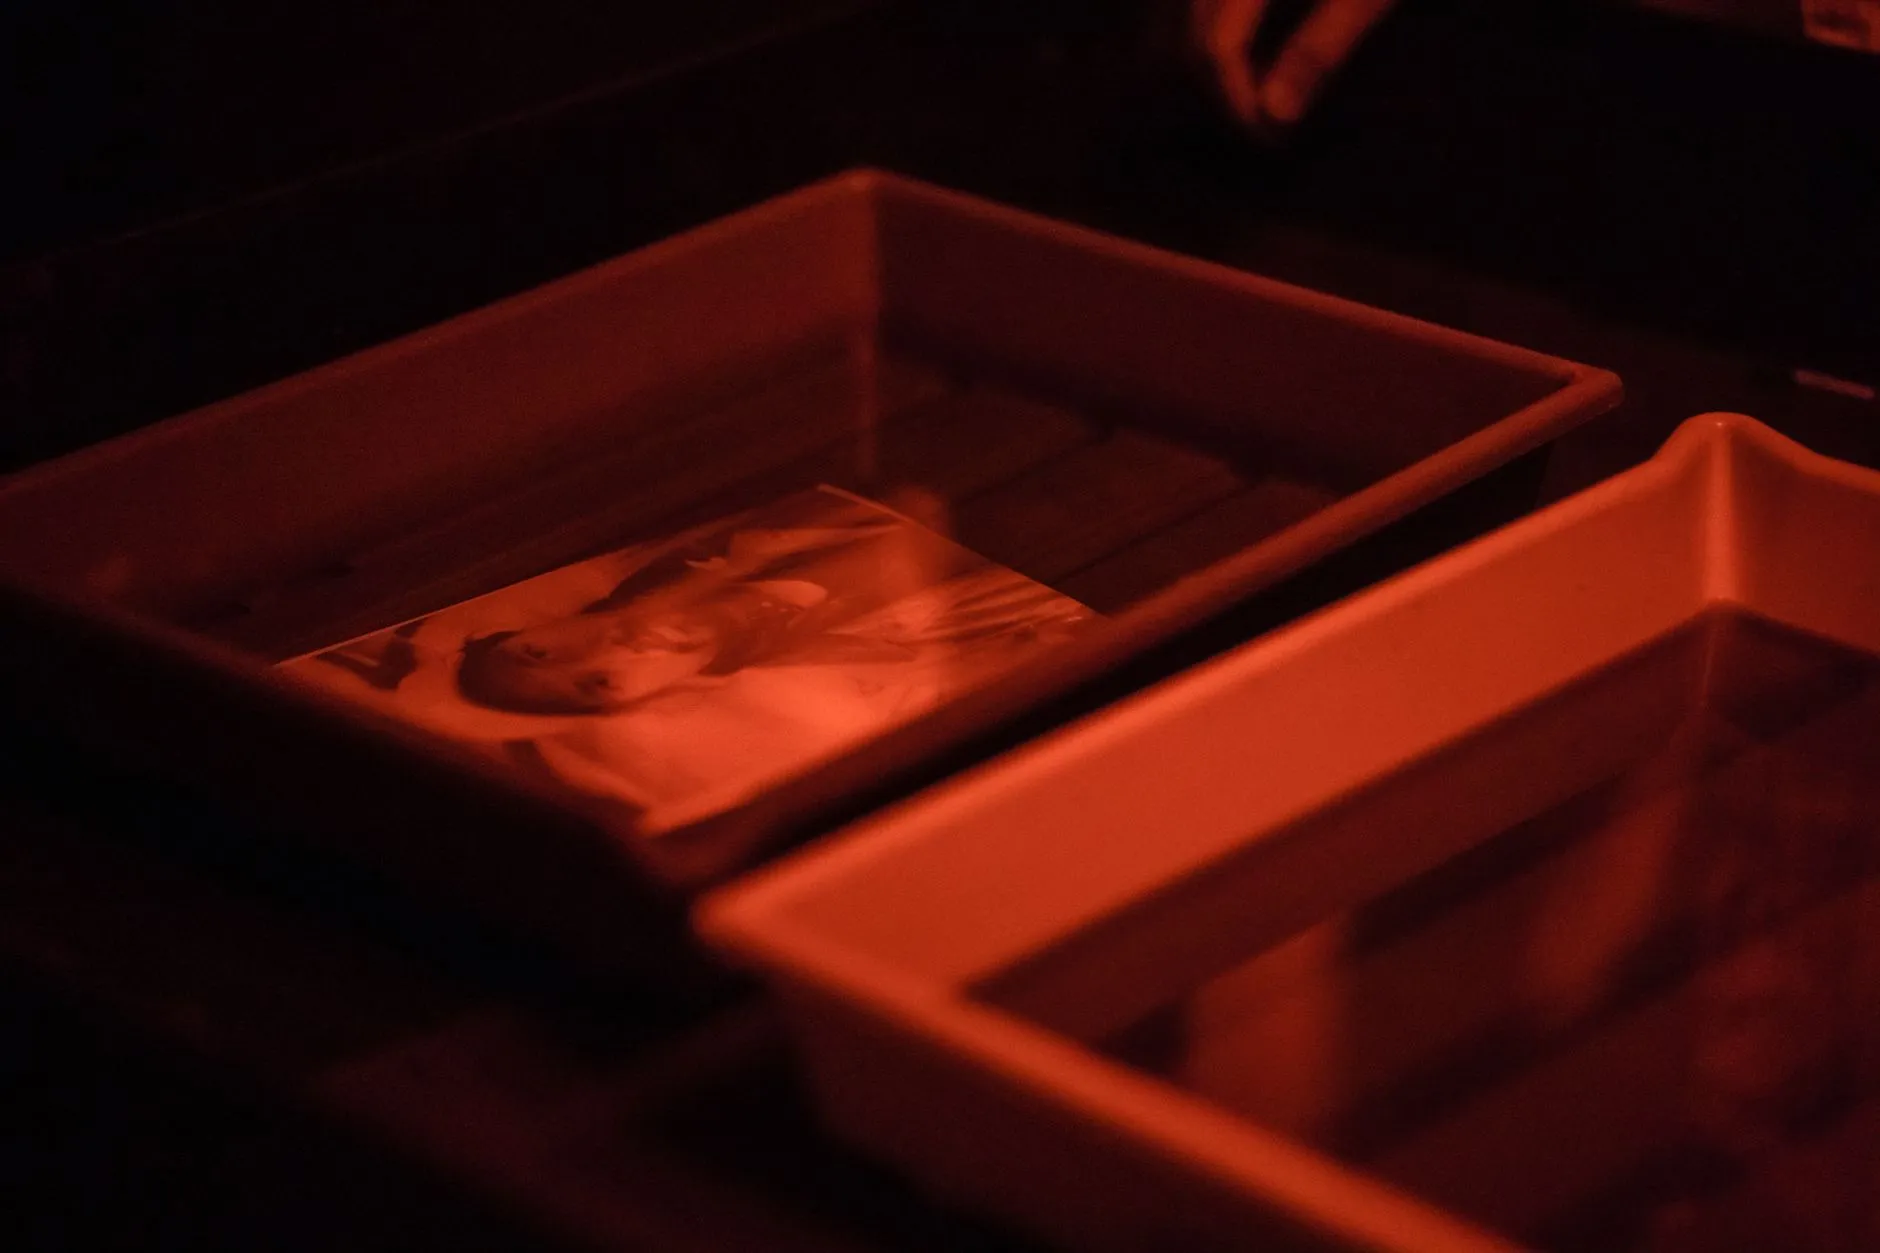
Water is not the thing that destroys photographs. Time is. A print that is soaked but handled correctly within a day usually survives. The same print left in a warm pile for a week is often gone for good, because mould has eaten the image layer.
So the first job is not restoration. It is stopping the clock.
The first hour
Do not try to dry everything at once. This is the mistake that loses collections. People spread hundreds of wet photographs across a floor, run out of daylight and space, and come back to a fused, mouldy block.
Instead, in order:
- Get them out of the water and into a cool, dry place with moving air. Warmth accelerates mould, so no heaters and no direct sun.
- Separate anything that is stuck together, gently, while it is still wet. This is far easier now than it will ever be again. If two prints will not part without force, leave them and deal with them last.
- Rinse off mud and debris with clean or distilled cold water. Silt left on the surface will dry into the emulsion.
- Triage. Decide what matters most, because you will not save everything at once.
The freezer buys you the time you do not have
This is the part most people have never heard, and it comes straight from conservation practice: if you cannot dry the photographs properly right now, freeze them.
Freezing stabilises wet material and halts mould growth. It does not reverse damage, but it stops the deterioration clock while you work through the collection at a sane pace. Conservators do this routinely after floods.
How to do it properly:
- Take the photographs out of any sleeves, albums or enclosures first
- Separate individual prints where you can
- Interleave with wax paper so they cannot fuse to each other
- Bag the bundles in ziplock or bin bags
- Freeze, and work through them in batches when you have time
A domestic freezer is fine. This single step has saved more family collections than any software ever will.
The four you must never freeze
Some photographic processes are destroyed by water and by freezing both. Cased images, daguerreotypes, ambrotypes and tintypes are extremely water sensitive, must not be frozen, and may not be recoverable.
How to recognise them: they are usually nineteenth century, the image sits on metal or glass rather than paper, and they often live in a small hinged case with a velvet lining. If that describes what you are holding, air dry it flat, do not touch the image surface, and contact a conservator quickly. These are the photographs where professional help genuinely changes the outcome.
Drying, properly
For everything else:
- Lay prints image side up on absorbent material. Plain paper towel, blotting paper and unprinted newsprint all work.
- Change the absorbent layer as it becomes damp, several times if needed.
- Keep air moving. A fan in the room helps, but do not aim it directly at the prints.
- Expect curling. Flatten afterwards by placing dried prints under light, even weight between clean sheets of paper for a few days.
- Never press anything onto a wet emulsion. While wet, the image layer is soft and will lift away with whatever touches it.
If a print’s surface has gone milky, sticky or tacky, stop handling it. The emulsion is swollen and will come away on your fingers. Let it air dry untouched first.
Then, and only then, digitise
Once dry, scan before doing anything else. See our guide on what DPI to scan old photos at, and scan at 600 DPI or higher, in colour, saved as TIFF. Water damage leaves tidemarks, blooming and lifted emulsion that repair tools can often reduce considerably, but they work from the scan, so the scan is the ceiling on the result.
Be realistic about what comes back. Tidemarks and staining usually respond well. Areas where the emulsion has physically lifted away are gone, and anything that fills them in is reconstruction rather than recovery. That is a legitimate thing to want, but you should know which one you are looking at.
When to call a professional
Three cases genuinely warrant it: cased images and tintypes, anything with active mould growth, and a photograph so irreplaceable that a botched home attempt is unthinkable. The rest you can do yourself with paper towel, a freezer and patience.
Sources this guide draws on include the NEDCC preservation leaflet on emergency salvage of wet photographs, the standard reference used by archives and museums.
Common questions
- Can you freeze wet photographs?
- Yes, and for most prints it is the single most useful thing you can do if you cannot dry them immediately. Freezing halts mould, which can start within 24 to 48 hours on a damp surface. Separate the photographs first, interleave them with wax paper, bag them, and freeze. It pauses the damage rather than reversing it, which is exactly what you need when there are more photographs than hours.
- Which photographs should never be frozen?
- Cased images, daguerreotypes, ambrotypes and tintypes. These are very sensitive to water, must not be frozen, and may not be recoverable at all. Air dry them and contact a conservator as soon as you can. If a photograph is on metal or glass, or sits in a small hinged case, treat it as one of these.
- How long do I have before mould starts?
- Roughly 24 to 48 hours on a damp surface, faster in warm conditions. That window is why freezing matters. Mould is far more destructive than water itself because it eats the image layer, and once it has taken hold the damage is permanent.
- Should photographs be dried face up or face down?
- Face up, on absorbent material such as plain paper towel or blotting paper, and change the material as it takes on water. Never press anything against the image surface while it is wet, because the emulsion is soft and will lift.